
 I wanted decorations that looked amazing, represented us, and didn't break the bank. So, I made them myself.
 I found some large wooden letters for sale at the local craft store. Naturally, I'm the luckiest person ever and they were all out of the letter A's which was a problem since that is what my name starts. I improvised and took the U instead of paying over a buck. I took a piece of foam and glued to to the center of my upside down U created my needed letter. Then I took a lot of tulle in a forest green color and started wrapping my letter. I wanted the letters to be green with flowers and mose on them for an elegent outdoor look that matched my chosen colors. I wrapped in sections gluing with hot glue every few inches (I'm shipping these babies so I need to know they won't come apart).
 Once I finished wrapping the created A. I gave it a good once over to make sure all area's where covered and set it aside to let the hot glue dry. I did the E in the same fashion, gluing every few inches to ensure it would stay. You can probably get away with gluing a lot less if your not having to ship everything. I got the tulle off ebay for a total of 5 dollars give or take a buck. I was very patient and set a limit to what I was willing to spend for the tulle I needed. It took a lot of auctions, but I eventually amassed the amount needed. The amount you will need will vary depending on the size of your letters. I used about 10 yards of tulle that was about 2 inches wide.
 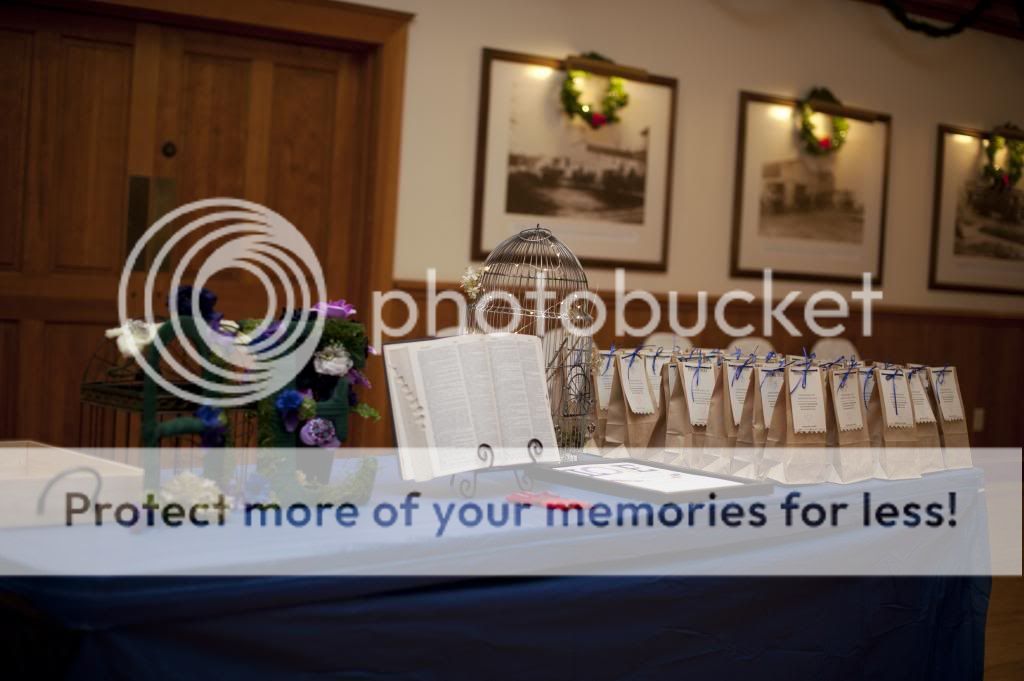 Once both were completely covered in the green tulle and dried I set the moss I had gathered and dried on the letters. I used hot glue to again secure the moss to the letters in the way I thought looked best. After this dried I used the fake flowers that I had gotten again from ebay auctions and attached them around the letters as I felt they looked the best.
 Now happy with my letters I shipped them off to be held until the wedding. You can see how great they look on the table with our memory keepers (sign in poster and dictionary), borrowed birdcage, gift bags, and wooden box for cards. Even better is that after the wedding they were shipped back to my house with other wedding goodies and are keepsakes on the wall! When choosing your own decorations for your wedding, think about what best fits you, what you can make yourself, and how it can be used again after the wedding. This way you will be filling your home with wedding day memories, protecting that ever important wallet, and still getting that beautiful wedding that you envisioned!


No comments:
Post a Comment